Quick and Easy Hot Cross Buns Recipe
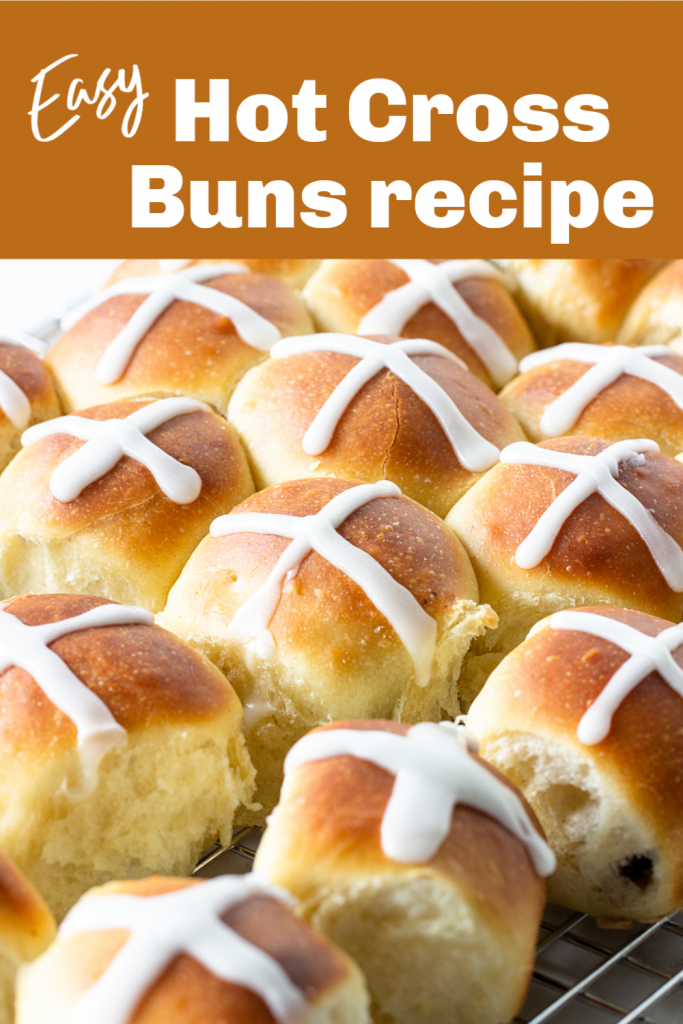
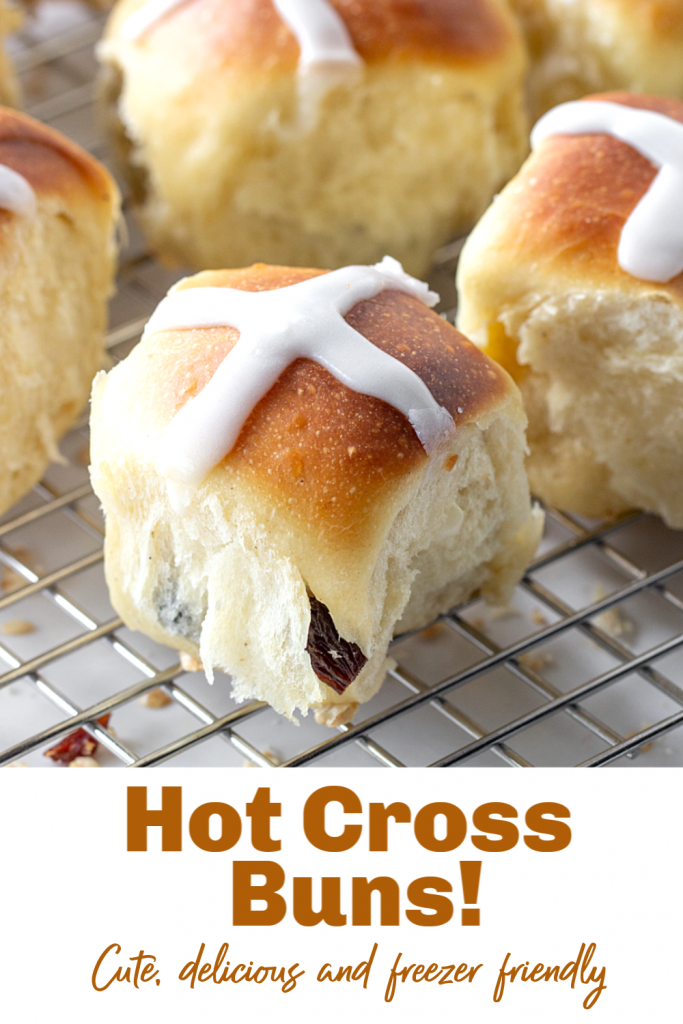
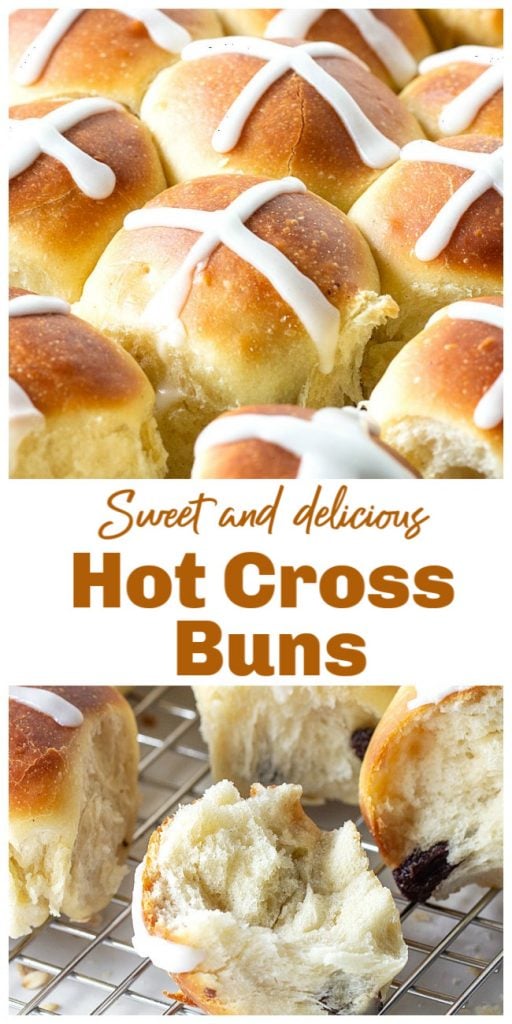
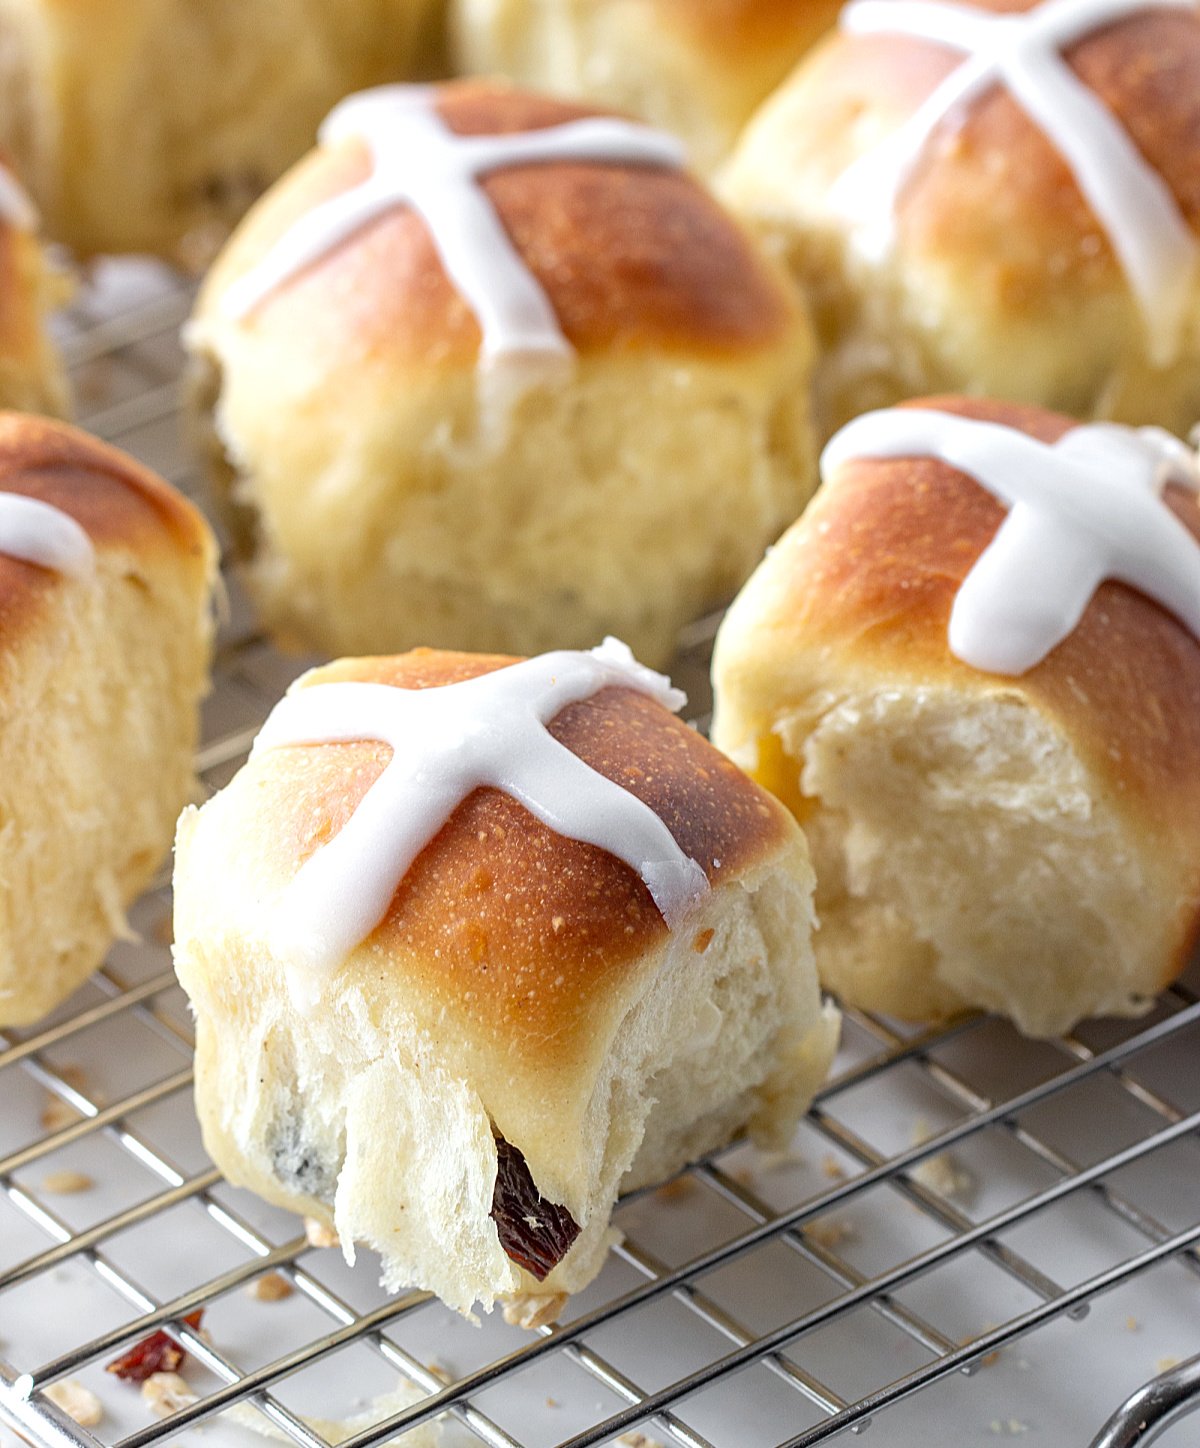
These are sweet, small buns, an Easter tradition in many countries, and this recipe delivers big time. Super soft, tender, with a hint of cinnamon, and studded with raisins, they can be made ahead and frozen.
This is a wonderful Easter recipe and something that will be a crowd-pleaser at this year's Easter brunch table.
Besides the egg hunt, making these traditional hot cross buns can lift your day and is a fun baking project to do with kids. In this house, we alternate between them and our much loved glazed braided Easter bread recipe, an old recipe we make often for holidays.
Origin
They were made by a monk and distributed among the poor on Good Friday somewhere around the 12th to 14th century. Or so the story goes. Back in the day, they were a Christian tradition, the cross symbolizing the crucifixion.
They are usually sold on Easter, but why stop there. They are a good alternative for lunch or dinner since the sugar and spices don't dominate the bun. And great for small sandwiches where you want a sweeter bread.
They have eggs, like challah or like a butterless brioche, and the dough is very much brioche-like: sticky, slapping around the mixer, looking like it needs a ton more flour than what the recipe calls for. But no. Everything comes together wonderfully.
Ingredients
- Yeast - I use active dry which needs to be hydrated before. The same goes for fresh yeast (the ratio is 3 times more than dry). If you use instant yeast it goes directly with the flour, no need to wait till it foams.
- Flour - if I have both, I like to use half all-purpose and half bread flour. They turn out soft but a tiny bit rustic at the same time.
- Salt - I use kosher salt for my baking, but table salt also works.
- Oil - I like to use sunflower as it is very neutral. Melted butter can be substituted.
- Eggs - large, fresh.
- Raisins - the buns are small so, ideally, I like to use currants or small raisins. Golden raisins work well too. Make sure they're seedless.
- Milk - it's a small amount and whole milk makes the dough richer. But reduced fat also works if that's all you have.
- Flavorings - cinnamon is traditional and some orange zest can be added. The nutmeg is nice but if you don't have any that's fine.

WATCH THE STEP-BY-STEP VIDEO 👇🏻
Kneading
- Stand mixer: it's the easiest way to make this recipe. But it can be kneaded by hand if there's no other alternative.
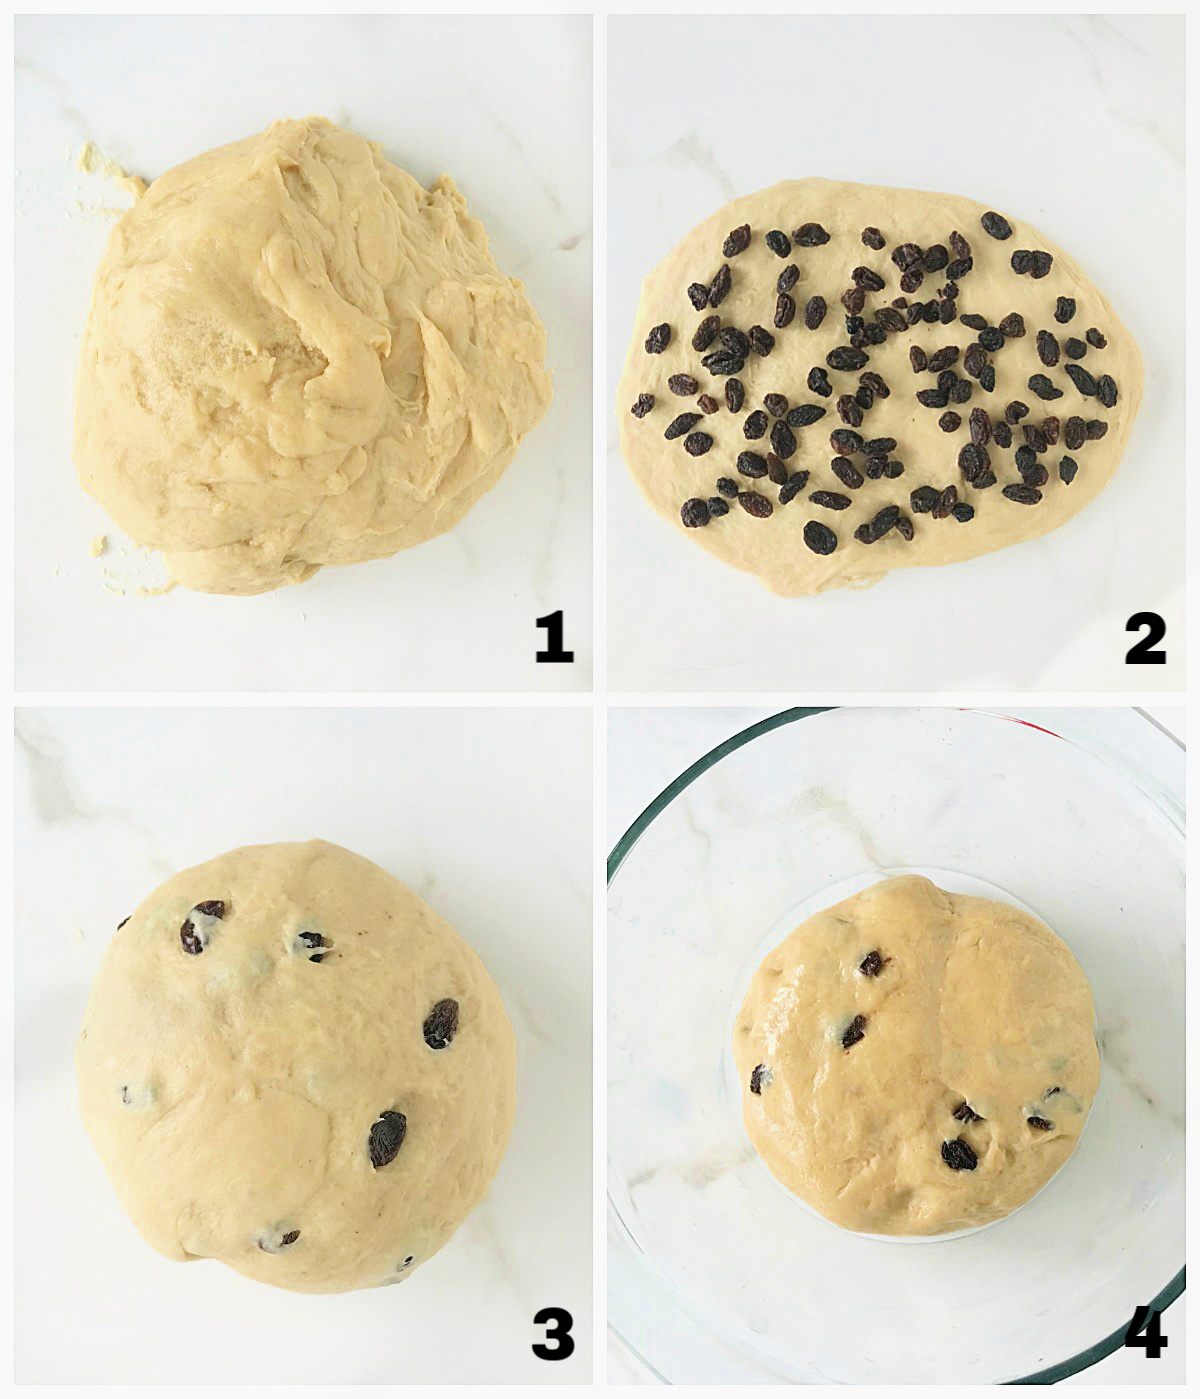
- The dough: it's super sticky during the first minutes due to the eggs and oil. They take time to integrate and become a less sticky but still supple dough (image 1). At some point, the dough will stick slightly to the sides of the bowl and that's your cue to take it out.
- IMPORTANT: There's a short resting period in between kneadings which helps the dough lose some of its stickiness and gives it an extra boost to grow. Keep in mind that this is a heavy dough so it needs time to rest in order to get the best results.Don't skip the steps!
- Adding the raisins: the easiest way is to do this by hand (image 2). It takes a minute. They might pop out of the dough while incorporating; simply add them back in.
- Surface for kneading: I recommend a marble surface or smooth counter to knead it (as opposed to, for example, a wooden surface). It will make your life easier (image 3).
- Resting: let it double in a greased clean bowl in a warm place. I use a large glass bowl (image 4) and cover it with a glass lid or plastic wrap.
Cutting the buns
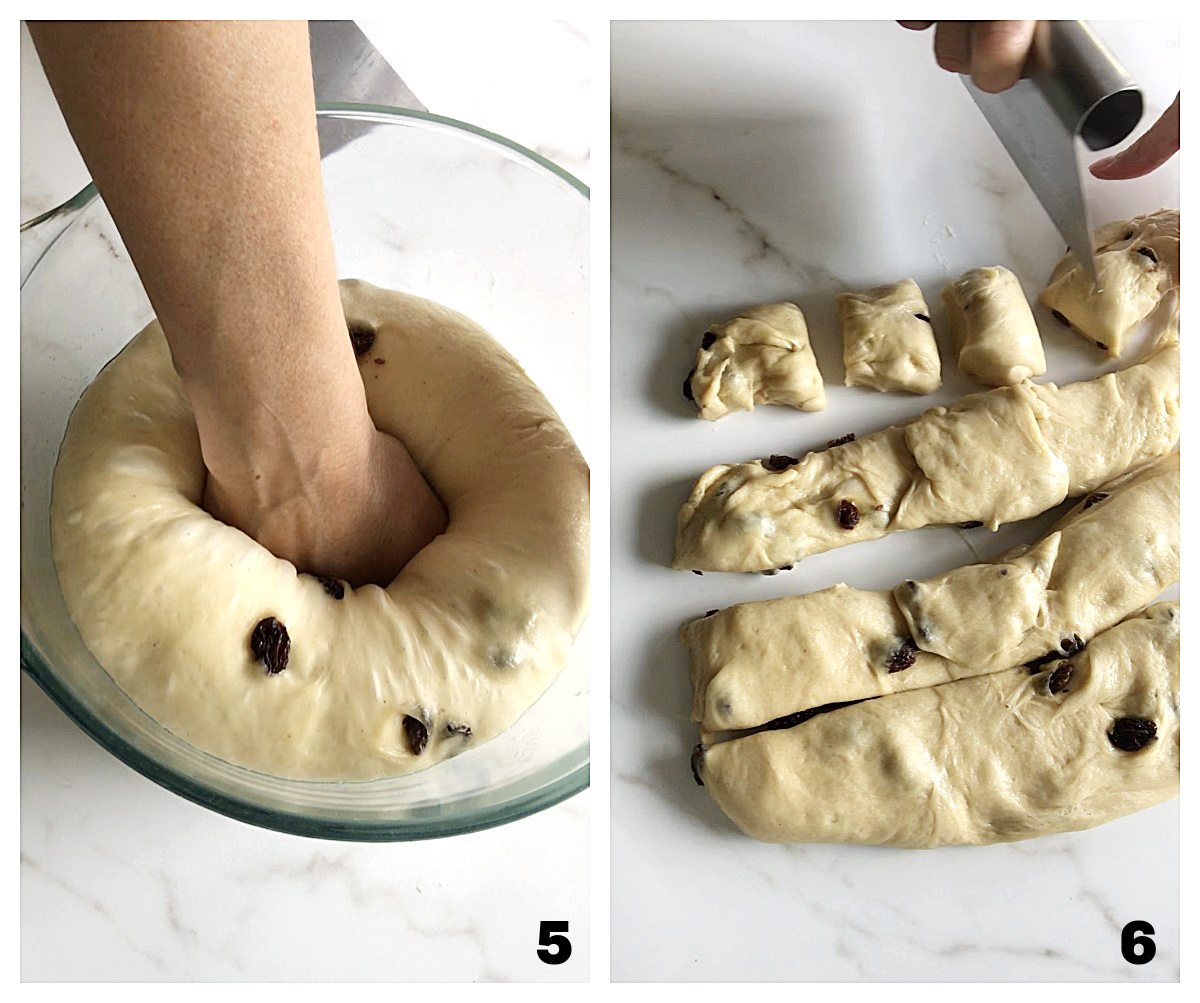
The dough doubles and then you have to deflate it (image 5).
I cut strips and then small pieces with a dough scraper, that you can buy online. You can also use a smooth-bladed knife for this.
How to make even-sized buns: you can simply eyeball it and that will result in some buns being slightly larger than others, or you can weigh them (you need a kitchen scale) and have equal pieces that all weigh exactly the same. I usually go with the first option, it's faster.
Forming the buns
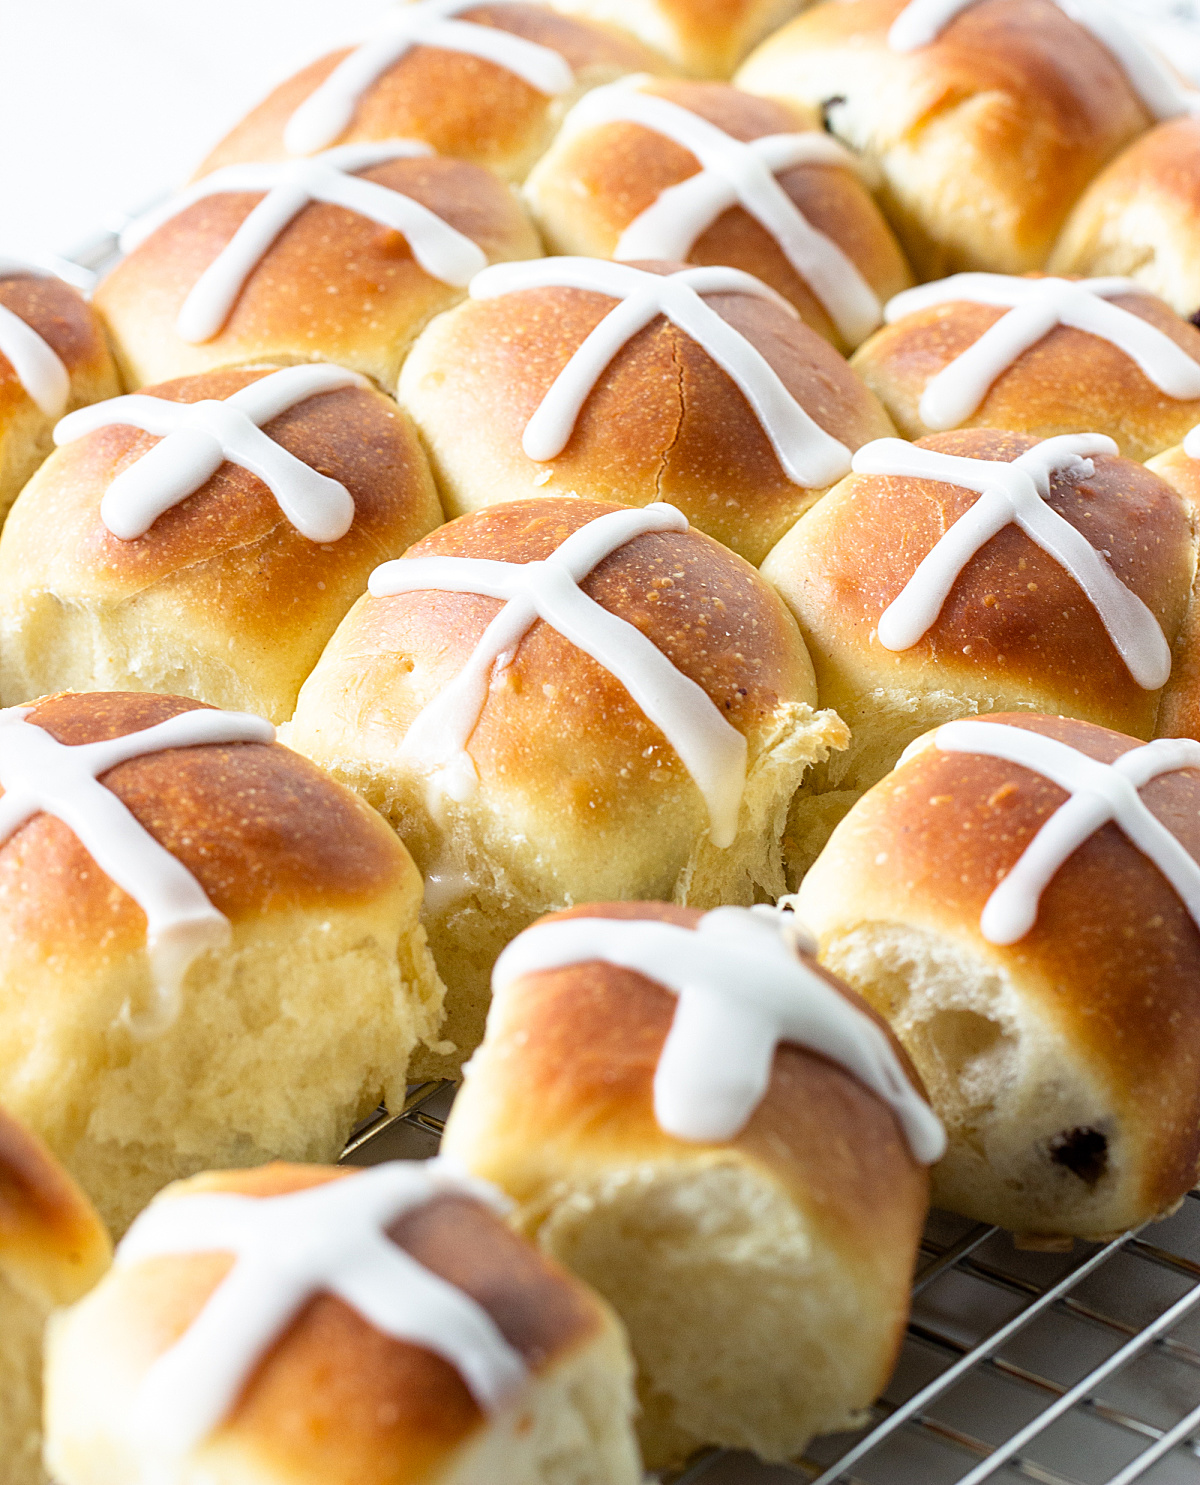
These cute little sweet buns are round and smooth.
Take a piece, flatten it slightly and press the edges to the center so that there are no air bubbles (or as few as possible).
Turn it over, cover the small piece of dough with your hand and make circular motions. Be careful not to squash it. You will feel the bun taking shape below. It's easier than it looks!
How to form rolls 👇🏻
Risings
As I mentioned before, these hot cross buns have several risings. If that sounds like too many, take into account that the results are amazing. And it's a resting time, you don't have to do anything!
- In between the kneading. It helps the dough lose some of the stickiness.
- The 'double the volume' rise that we see in most yeasted bread recipes. This is an essential step that gives the dough a boost. It might take more than the specified time in the recipe. Cover with a blanket or sweater (not kidding!) if it's not rising much after 30 minutes.
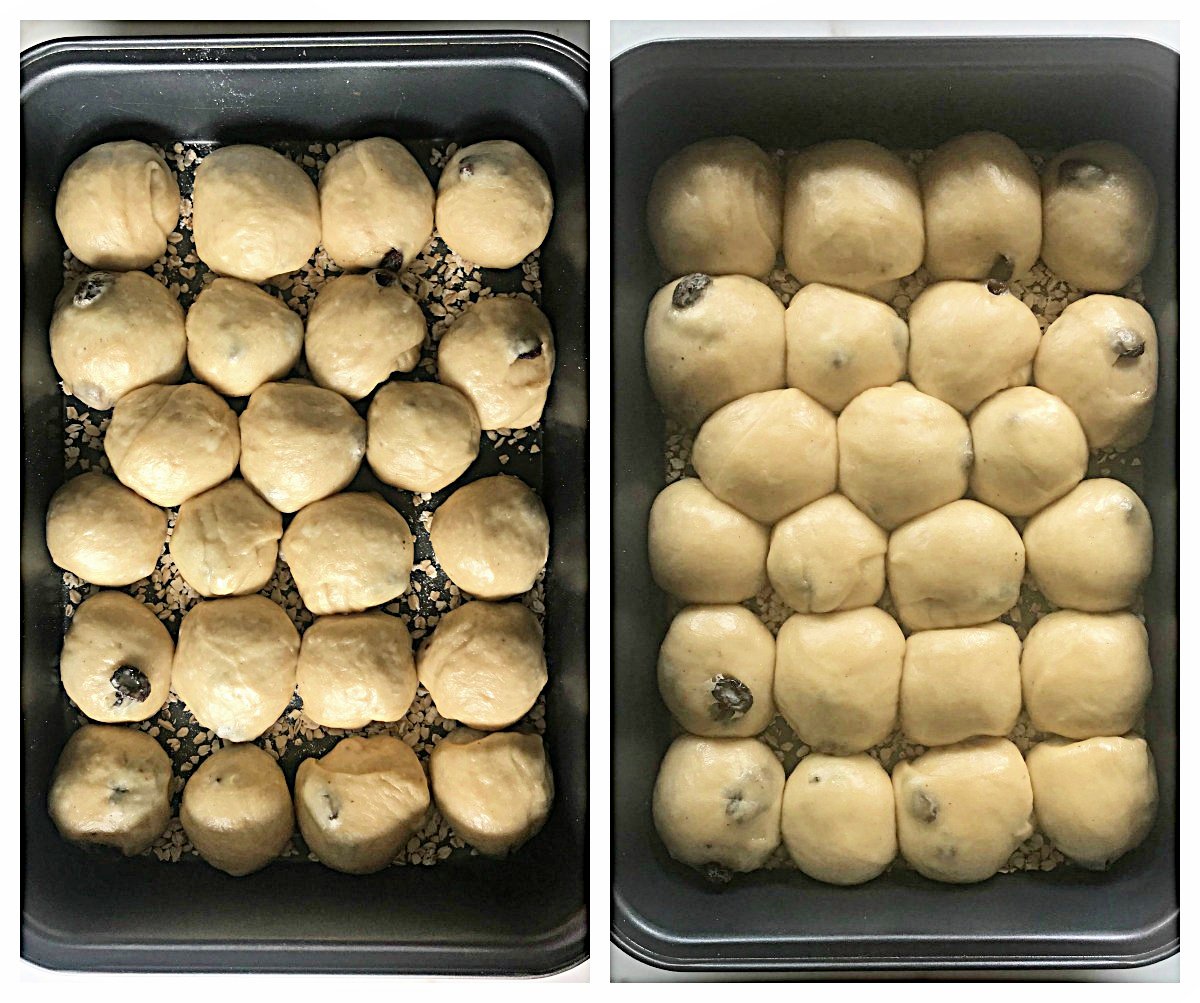
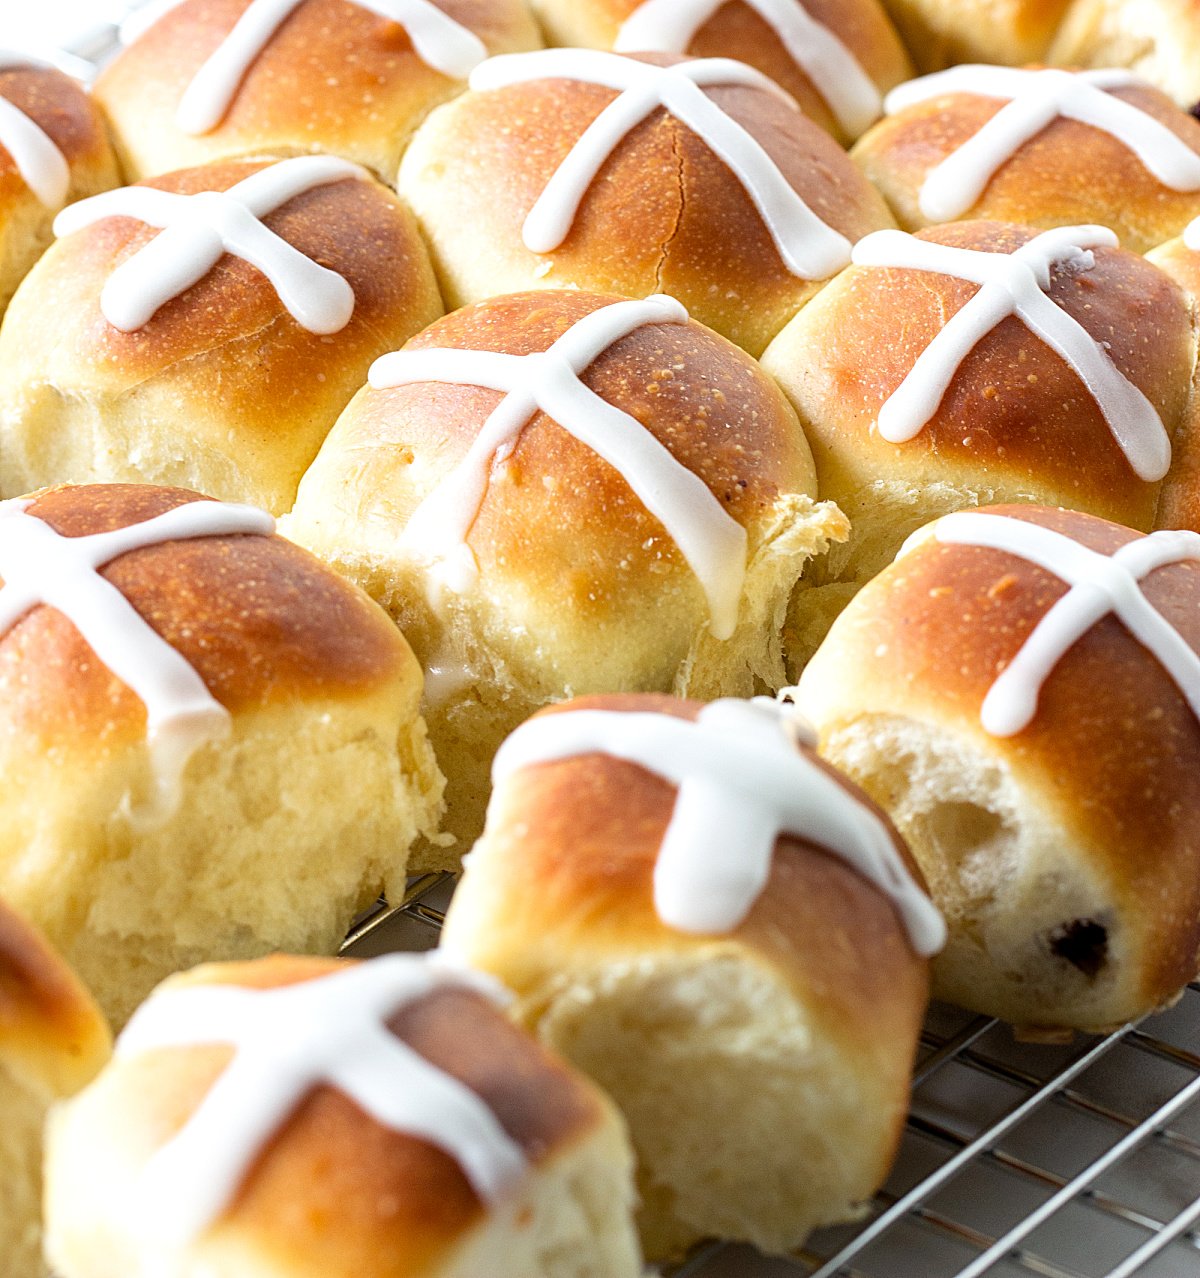
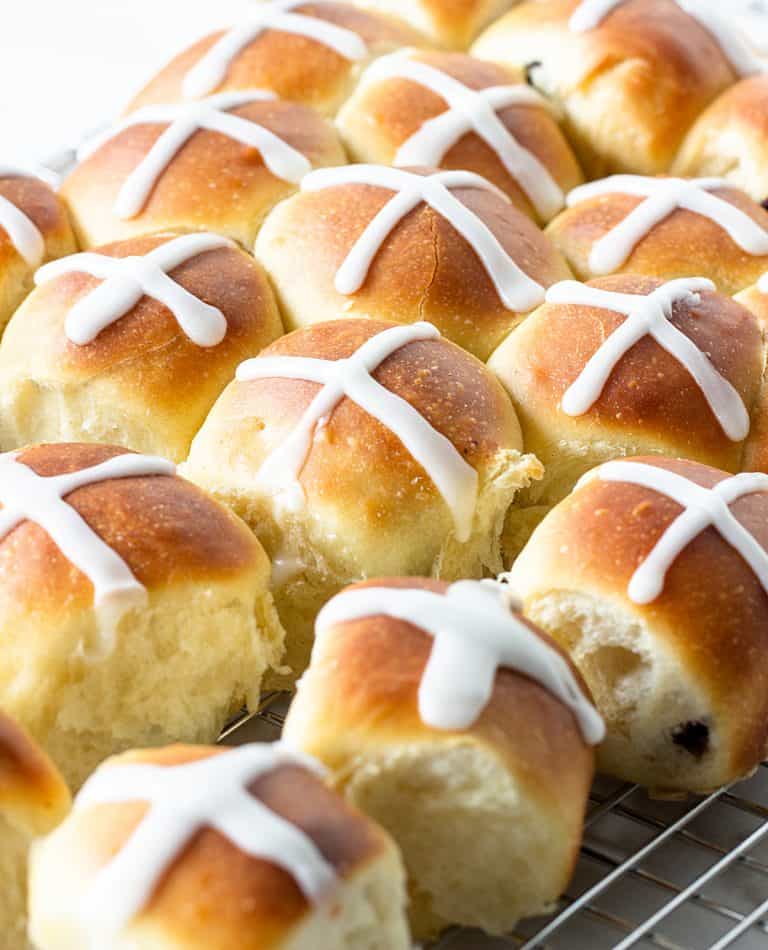
- In the pan. After forming the buns we need to let them rise again. It will probably not double but they will be significantly plumped up (images above).
Baking
They don't take much time to be done, so be careful as the tops can brown very quickly .
It can also be baked in a loaf pan, similar to a quick bread. Easier than making the small buns for sure. But cuter? I don't think so.
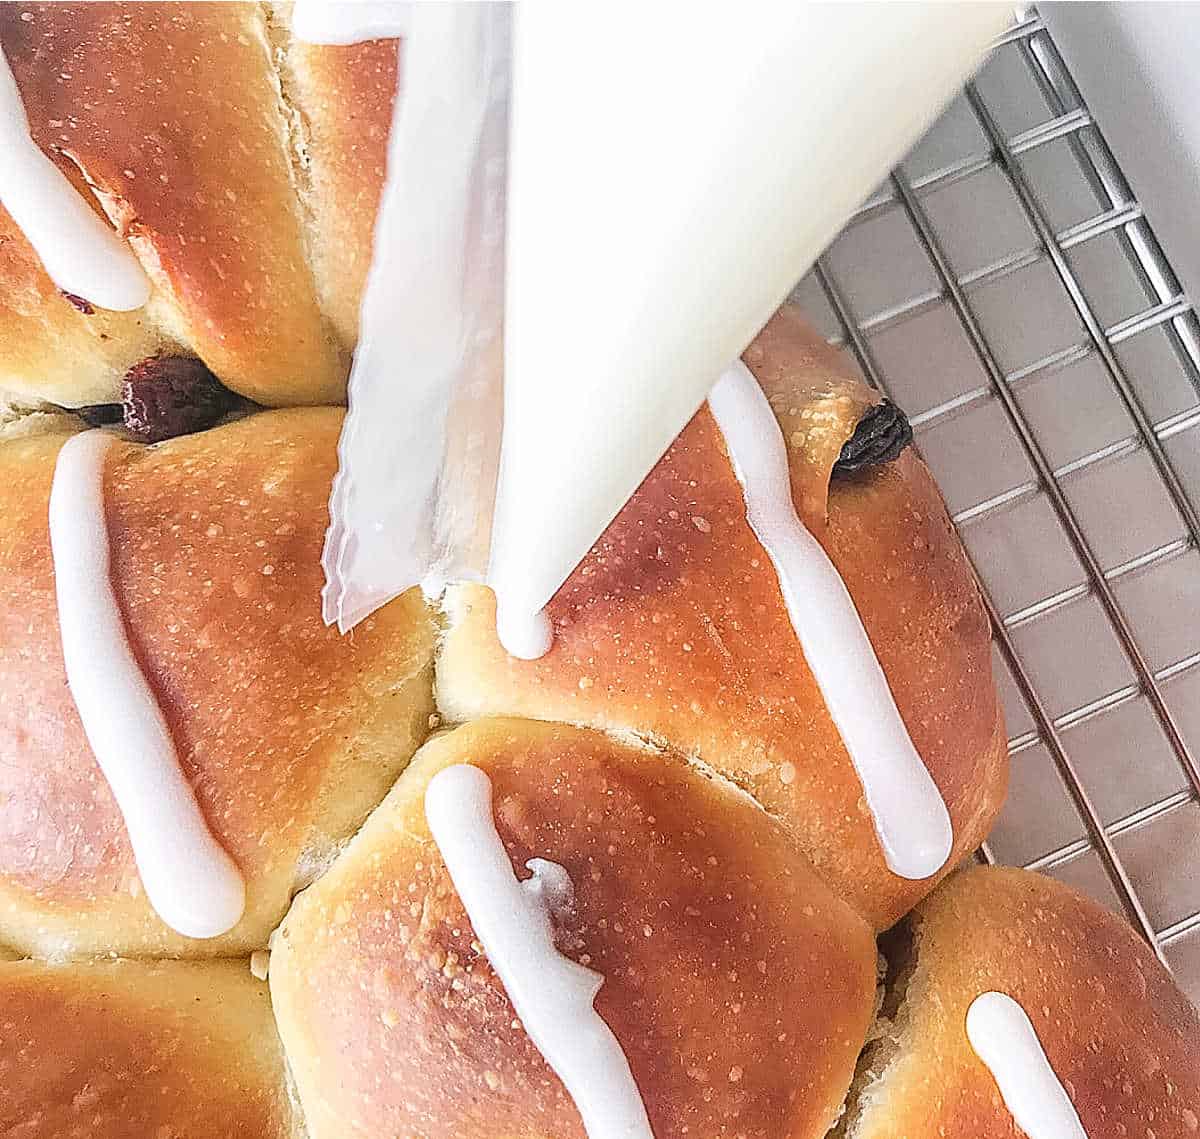
White crosses
Originally, the mixture for the cross involves a flour paste and you can find several recipes that use it.
But I used to make a mixture of egg white with powdered sugar, similar to royal icing. But since this glaze is added after the buns are baked, I now use a very thick simple powdered sugar glaze. That way there's no raw egg involved.
- Piping bag: it's the easiest way to pipe crosses on top of each bun, and you need a very thin tip (image above). No need for a piping tip especially if you use a thick plastic bag, though you can totally use one. Simply cut the tip and pipe those lines!
- Spoon: you can use a small spoon and add the glaze. It will probably be less straight or even than with a piping bag, but that's not an issue for most of us if eating these little buns with family.
Vintage Kitchen Tip: when cutting the tip of a piping bag always start smaller than what you think you need. It's easier to widen the tip but you can't reverse it.
Overnight rising
These sweet buns can be left to rise overnight in the refrigerator. How's that for convenience?
- Dough - after you added the raisins and the dough is placed in the oiled bowl and covered, place it in the fridge and let rise slowly until the next day. How much it rises will depend on how cold your fridge is.
- Buns - or you can form the buns, cover the pan with plastic wrap (be careful to leave space for the buns to rise if the pan doesn't have high sides), and pop it in the refrigerator. In this case, make sure your fridge is very cold (sometimes when it's packed it loses temperature) because this is a shorter rise and you don't want your buns to rise too much.
Take out the next day and let come to room temperature before continuing with the recipe. It might take several hours.
Added bonus: slow risings help yeasted doughs develop better and deeper flavor.
Kitchen notes
- Organization: read the recipe first and make sure you have ingredients at the right temperatures, equipment needed, and enough workspace. This will make the process so much easier!
- Baking time: keep in mind that all ovens and pans are different, even if they look the same or very similar. The baking time in my recipes is as accurate as it can be, but it might take you more or less time. Use a thermometer inside the oven (like the OXO oven thermometer) to check that the temperature is right. I recommend you keep track of how your oven works and what tiny details you might need to adjust.
- Milk and water - make sure they're warm, but just barely. Hot liquids will kill the yeast and it will not rise as it should.
- Yeast - I use active dry yeast that needs to be hydrated before adding the flour. The same goes for fresh yeast (the ratio is 3 times more than the dry amount). If you use instant yeast (it looks just like active-dry) it goes directly with the flour, there's no need to hydrate it first and wait until it foams and it probably will not foam if you mix it with water first, as the other types do.
- Glazed crosses - you can use a piping bag with a very thin tip or simply cut the tip of the bag and use it directly. You need to use the thick, sturdy plastic ones if not using a metal or plastic tip. Alternatively, use a small spoon and trace the lines.
- Overnight rising -Dough: after you added the raisins and the dough is placed in the oiled bowl and covered, place it in the fridge and let rise slowly until the next day. How much it rises will depend on how cold your fridge is.Buns: or you can form the buns, cover the pan with plastic wrap (be careful to leave space for the buns to rise if the pan doesn't have high sides), and pop it in the refrigerator. In this case, make sure your fridge is very cold (sometimes when it's packed it loses temperature) because this is a shorter rise and you don't want your buns to rise too much. In both cases: take out the next day and let come to room t° before continuing with the recipe. It might take several hours, especially for the dough.
- Egg wash - I don't use it, but you can if you want the surface to be shiny. In a small bowl mix an egg yolk with a teaspoon of water. Brush the top of the buns right before they go into the oven being careful not to deflate them, and try not to let it drip to the sides.
-
Glazed Easter Bread (with video)
-
Irish Soda Bread with Raisins
-
Crunchy Almond Holiday Bread
-
Sweet Potato Cinnamon Bread
Let me know in the comments below if you made this recipe and loved it, and if you had issues, so we can troubleshoot together. I love to hear what you think, always. Thanks for being here, it's much appreciated.
You might also consider subscribing to our FREE email series to Boost your Home Baking Skills! And our regular newsletter.
And let's connect viaFacebook,Instagram, andPinterest.
- 1 tablespoon + 1 teaspoon active dry yeast (see Notes, below, for other types)
- ½ cup warm milk
- ¼ cup warm water
- ½ cup sunflower oil
- ⅓ cup granulated sugar
- 1 teaspoon salt
- 3 ½ to 4 ½ cups unbleached all-purpose or bread flour
- ½ teaspoon ground cinnamon
- ¼ teaspoon grated nutmeg
- 3 large eggs, at room temperature
- ⅔ cup dried currants or raisins (light, dark, or a mix)
For the glaze:
- ¾ cup powdered sugar
- 2 teaspoons milk
- Line 9x13-inch baking pan with high sides, spray with oil, and dust lightly with oats or flour. Do not use a baking sheet for these buns as they need sides to contain them and rise upwards and not to the sides.
- Place the yeast and warm water in the bowl of a stand mixer and stir to dissolve with a fork or spoon. Allow to stand for about 3 minutes until it foams and maybe large bubbles form. If this doesn't happen your yeast is not active as it should be. You need to buy fresh and start again.
- Add the warm milk, oil, sugar, and 1 cup of flour to the yeast mixture and stir with a fork or spoon to combine.
- Add cinnamon, and nutmeg, stirring with a wire whisk until the ingredients are well combined.
- Add salt, and the eggs and mix well.
- Attach bowl to the mixer fitted with the dough hook and gradually add 2 ½ to 3 cups flour, ½ cup at a time, while kneading on medium-low speed until it all mixed well.
- On medium speed, knead for 5 to 7 minutes. The dough will be wet and sticky but will start to come together. I added about ¼ cup more flour . Cover bowl with plastic wrap and let rest for 20 minutes.
- Knead the dough for 1 or 2 more minutes, or until it becomes smooth, supple, and elastic but not too firm.
- Transfer to a lightly floured surface and, with your hands lightly floured also, stretch into a rectangle. It will be sticky but workable.
- Spread the dried currants evenly over the rectangle.
- Fold the whole mass like an envelope, and knead it gently until the currants are well distributed, about 2 to 3 minutes. Some of the currants may pop out of the dough, incorporate them again.
- Shape the dough into a loose ball and place it in a lightly oiled or greased bowl.
- Turn to coat the top of the dough with oil and cover the bowl with plastic wrap, a lid or a dry kitchen towel.
- Let the dough rise at warm room temperature until doubled in volume, about 1 ½ to 2 hours. If after a half hour the dough is barely moving, cover it with a blanket or even a sweater so that it has enough temperature to rise. (See Notes, below, for overnight rising).
- When the dough has doubled, gently deflate it with your closed fist and turn it onto a clean work surface, pressing in any loose currants. You probably won't need to lightly flour the counter, but you can it if it's sticking too much that that makes it hard to work with.
- Flour your hands lightly and divide the dough into 15 pieces or so (each weighing about 2 oz / 50g).
- Shape the rolls, cupping the pieces with your rounded palm and making circular movements until you have a rounded bun. There's a video clip in the post above showing how this is done.
- Place them on the prepared pan, leaving ½ to 1-inch space between them.
- Cover them loosely with oiled plastic wrap or a dry kitchen towel and let them rise at room tº until almost doubled in volume, about 45 minutes to 1 hour.
- About 15 minutes before you're ready to bake, preheat the oven to 350ºF / 180ºC.
- If you like to brush with egg wash (for a shinier surface) see Notes, below .
- When the buns have doubled, bake them for 15-20 minutes or until the buns have turned a nice golden brown and the surface feels slightly firm but not hard when you press it lightly. These rolls should have a thin soft covering, not a hard crunchy crust.
- Transfer the rolls to a rack and let them cool for 5 minutes.
- Carefully slide a smooth bladed knife along the sides to make sure they're not stuck, and carefully remove them onto a wire rack. Let cool for 10 more minutes before making the crosses on top.
- While the buns are cooling, make the frosting by mixing the powdered sugar with the milk in a small bowl. It should be very thick. If you feel you need more liquid, add it by drops (literally).
- Put on a pastry bag, fitted with a small plain tip, or don't use a tip and simply cut the plastic bag, or a teaspoon, to make an X of frosting over the cross of each bun. The frosting will harden somewhat as the buns cool.
- They are best eaten the same day they are baked.
- Store leftovers at room temperature in a plastic bag or airtight container, and warm slightly before eating. Or freeze them, wrapped in plastic first and then in foil. Thaw at room temperature before serving. And warm in a medium oven before eating.
Notes
Organization: always read the recipe first and make sure you have all the ingredients, at the right temperatures, and also the rest of the equipment and space to make it. This will make the process so much easier!
Baking time: keep in mind that all ovens and pans are different, even if they look the same or very similar. The baking time in my recipes is as accurate as it can be, but it might take you more or less time. You can use a thermometer that is placed inside the oven (like the OXO oven thermometer) to check that your oven is at the right temperature. I recommend you keep track of how your oven works and what tiny details you might need to adjust.
Milk and water - make sure they're warm, but just barely. Hot liquids will kill the yeast and it will not rise as it should.
Yeast - I use active dry yeast that needs to be hydrated before adding the flour. The same goes for fresh yeast (the ratio is 3 times more than the dry amount). If you use instant yeast (it looks just like active-dry) it goes directly with the flour, there's no need to hydrate it first and wait until it foams and it probably will not foam if you mix it with water first, as the other types do.
Glazed crosses - you can use a piping bag with a very thin tip or simply cut the tip of the bag and use it directly. You need to use the thick, sturdy plastic ones if not using a metal or plastic tip. Alternatively, use a small spoon and trace the lines.
Overnight rising - Dough : after you added the raisins and the dough is placed in the oiled bowl and covered, place it in the fridge and let rise slowly until the next day. How much it rises will depend on how cold your fridge is. Buns : or you can form the buns, cover the pan with plastic wrap (be careful to leave space for the buns to rise if the pan doesn't have high sides), and pop it in the refrigerator. In this case, make sure your fridge is very cold (sometimes when it's packed it loses temperature) because this is a shorter rise and you don't want your buns to rise too much. In both cases: take out the next day and let come to room t° before continuing with the recipe. It might take several hours, especially for the dough.
Egg wash - I don't use it, but you can if you want the surface to be shiny. In a small bowl mix an egg yolk with a teaspoon of water. Brush the top of the buns right before they go into the oven being careful not to deflate them, and try not to let it drip to the sides.
Variation: you can use brown sugar (instead of white) and some other type of dried fruit, or candied lemon and orange rind with the raisins for a spicier variation. Or some citrus zest.
- Prep Time: 30 minutes
- Rising times: 3 hours
- Cook Time: 20 minutes
- Category: Bread
- Method: Baking
- Cuisine: International
Nutrition
- Serving Size: 1/15
- Calories: 265
- Sugar: 15.2 g
- Sodium: 174.9 mg
- Fat: 8.6 g
- Carbohydrates: 41.5 g
- Protein: 5.6 g
- Cholesterol: 37.4 mg
Keywords: hot cross buns
Adapted from Amy's Bread, by Amy Scherber and Toy Kim Dupree
More Bread Recipes
-
Easy Irish Soda Bread (4 ingredients!)
-
Panettone Bread Pudding
-
Tomato Focaccia Recipe
-
Chocolate Chip Banana Bread Recipe (one bowl)
About Paula Montenegro
Reader Interactions
Source: https://vintagekitchennotes.com/hot-cross-buns/
0 Response to "Quick and Easy Hot Cross Buns Recipe"
إرسال تعليق